As you will have seen from previous blogs, I had already completed most of the baseboards, but none were yet screwed into place.
This was waiting for … the bridge, which will allow a loop to exist within the undergarage.
I started by cutting a recess at each end, for the bridge to slot into:
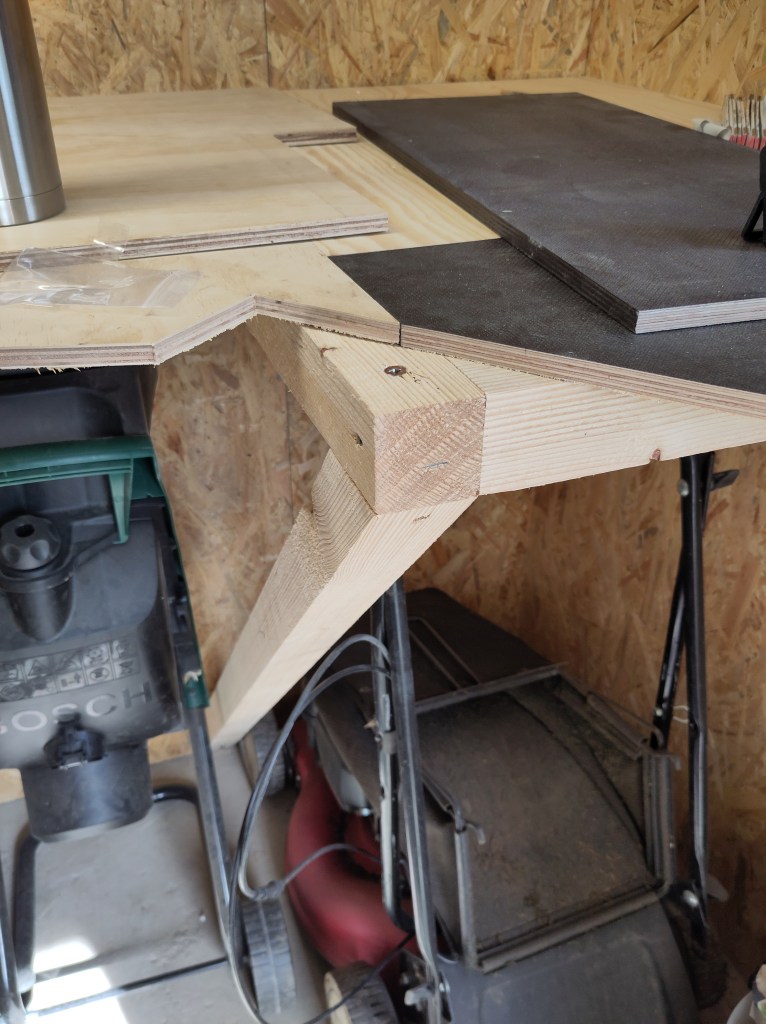
Then I added some ledges to rest the bridge supports on:
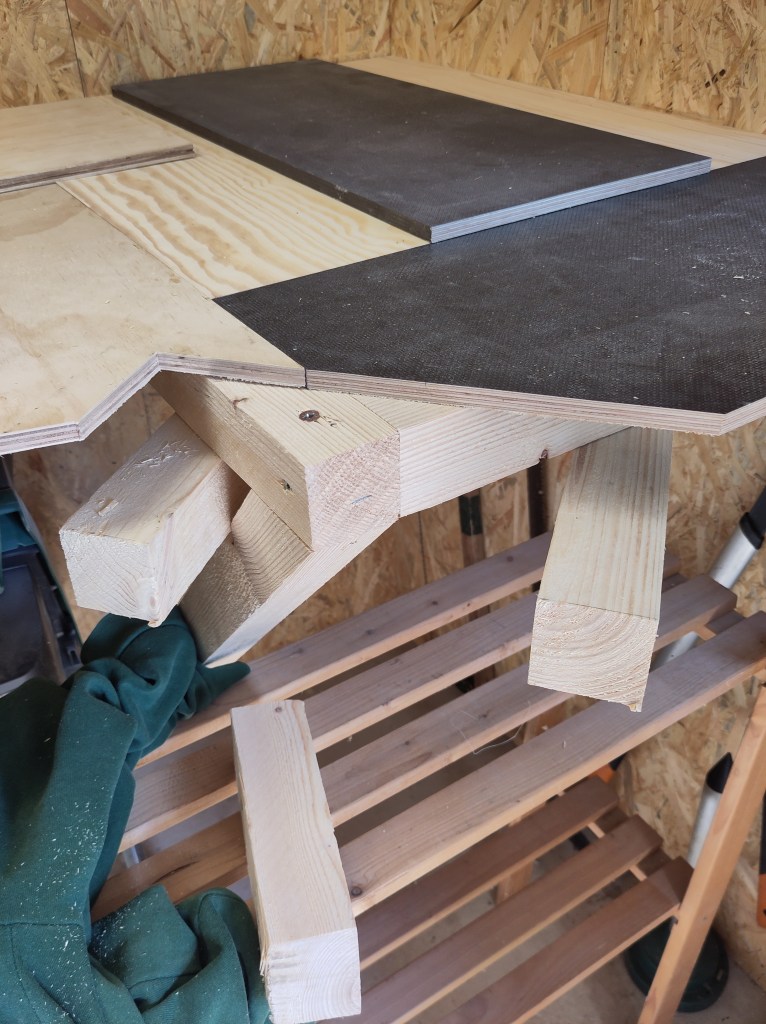
Then I cut some beams to fit, to carry the bridge:
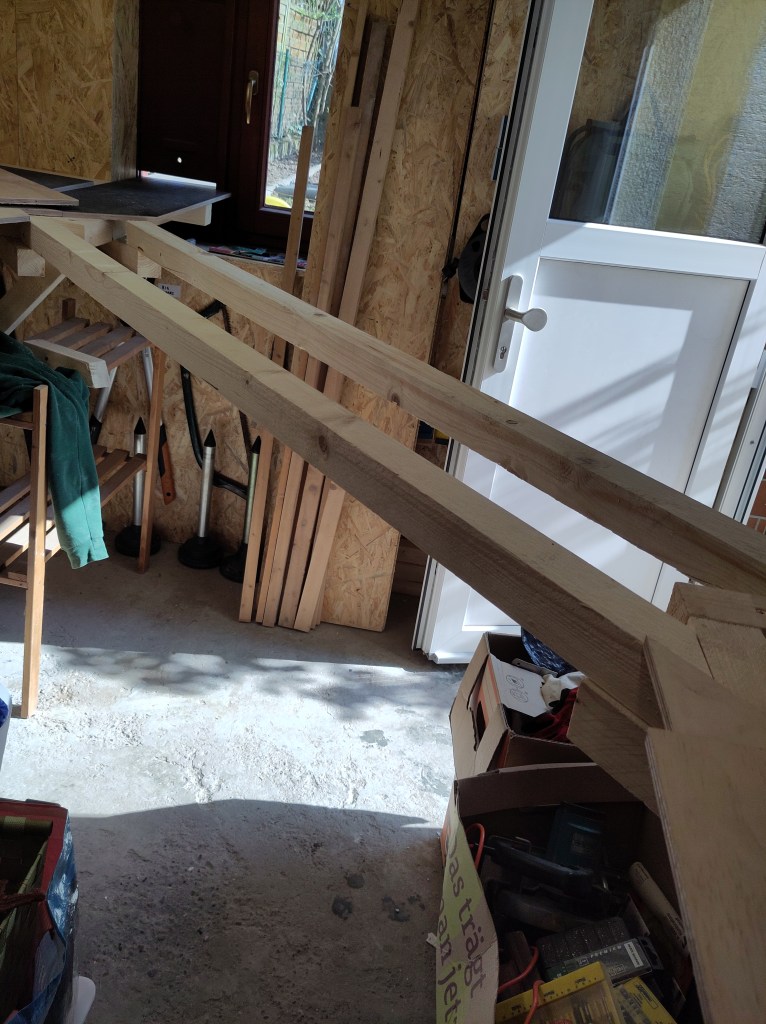
The span of the bridge is about 1.8m, so not insignificant.
I placed the pre-cut plywood on top:
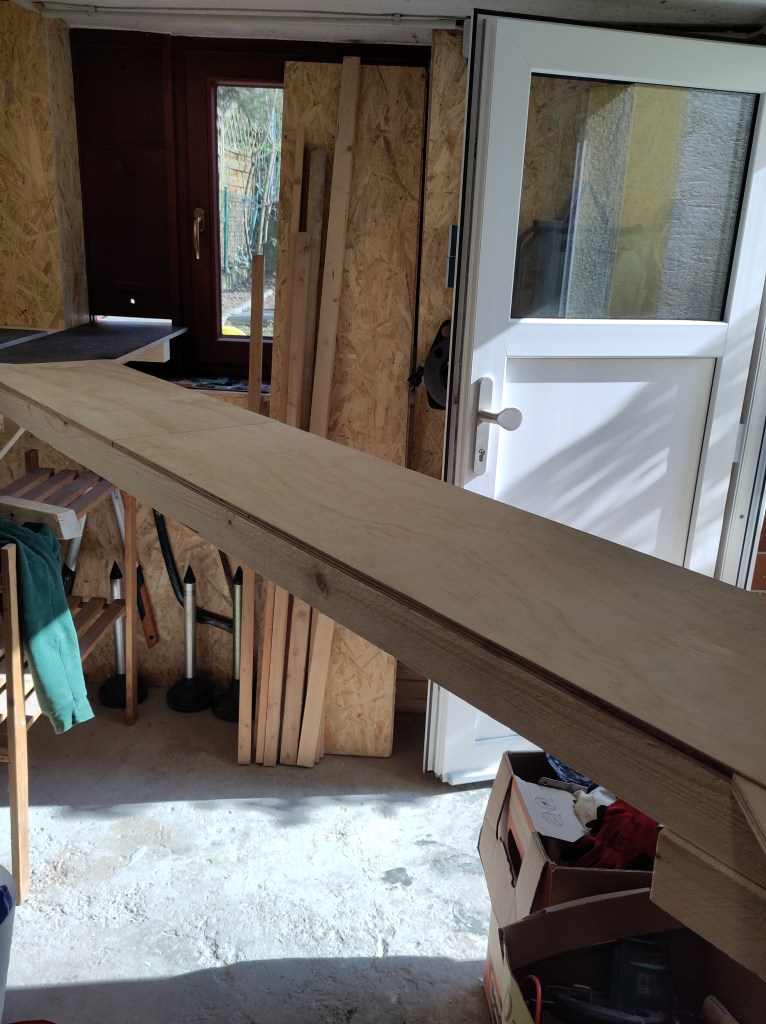
Having got all the plywood panels in place. I started screwing them in.
The location of each screw had to be predrilled:
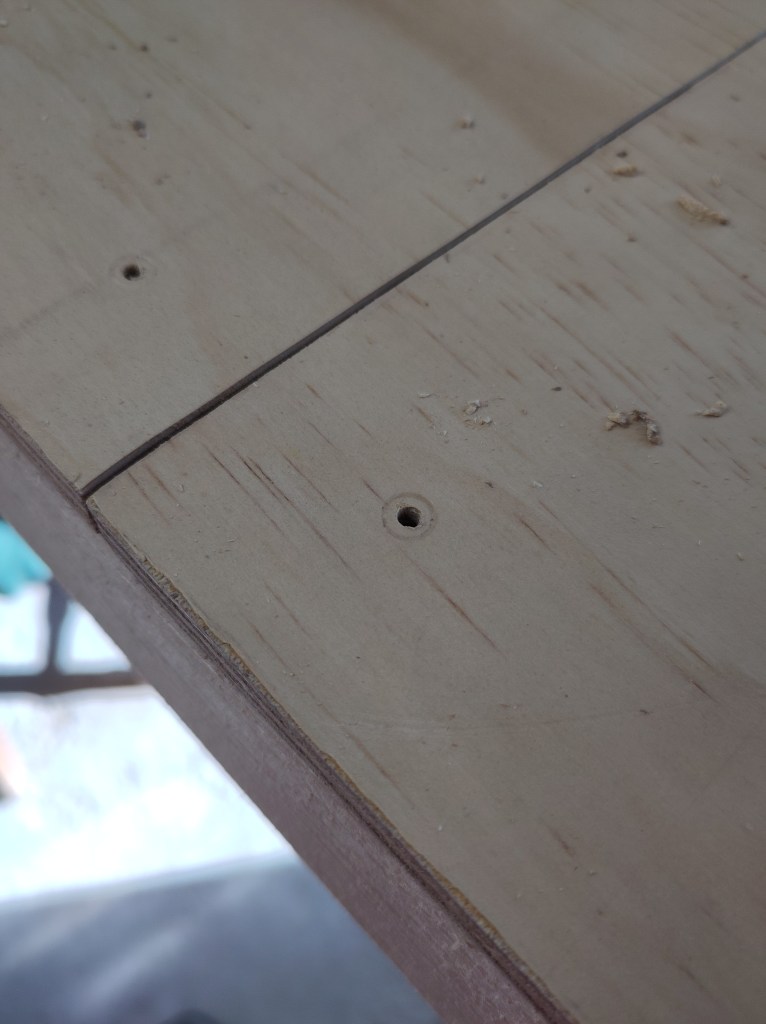
Then a larger bit was used to allow the screw head to be recessed:
Then the screw could be screwed in place.
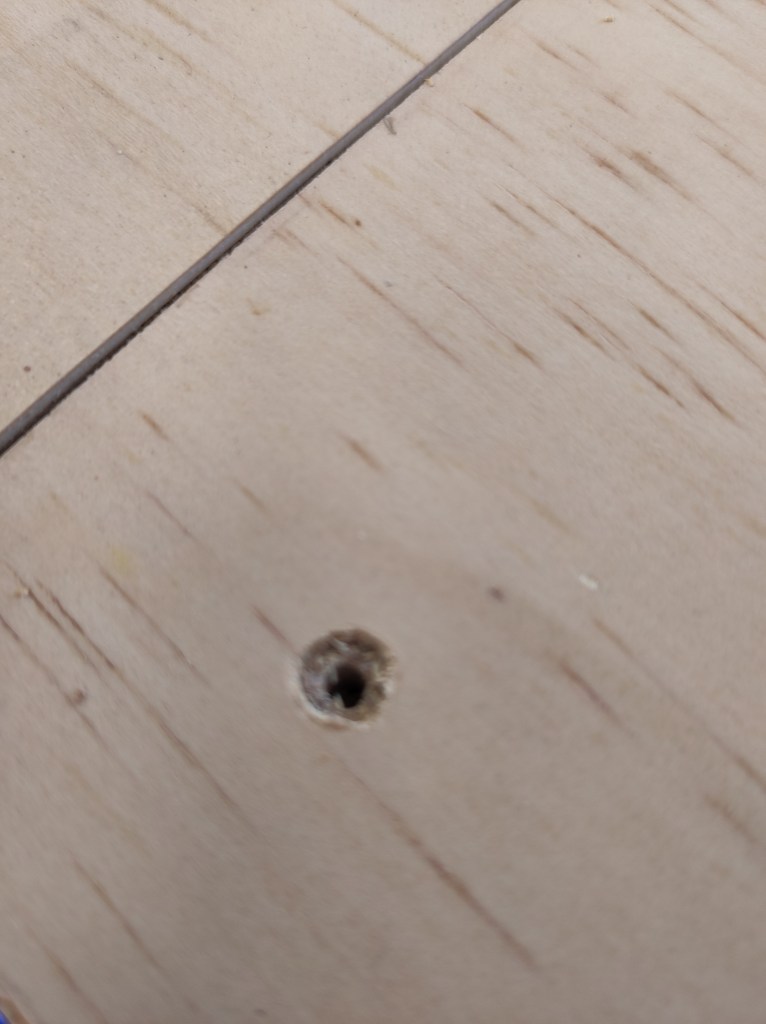
The idea is that the bridge is removable, so that I don’t always have to crouch underneath to enter the room. However, after I had screwed all the boards in, I tried to remove it …. and it wouldn’t budge!
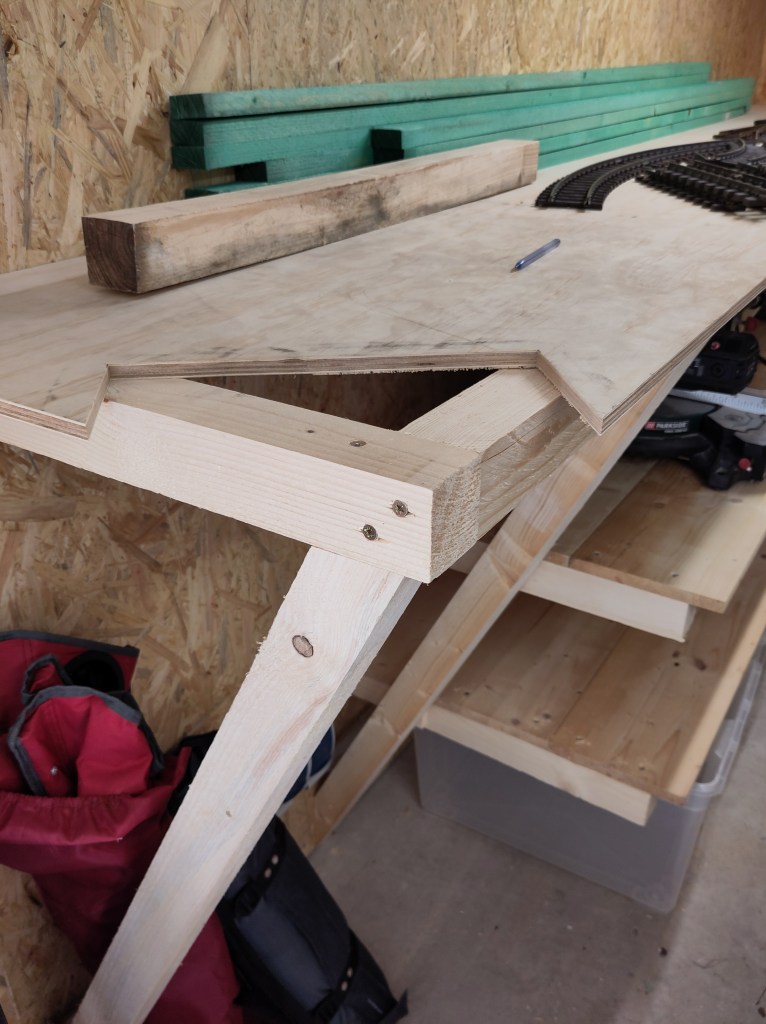
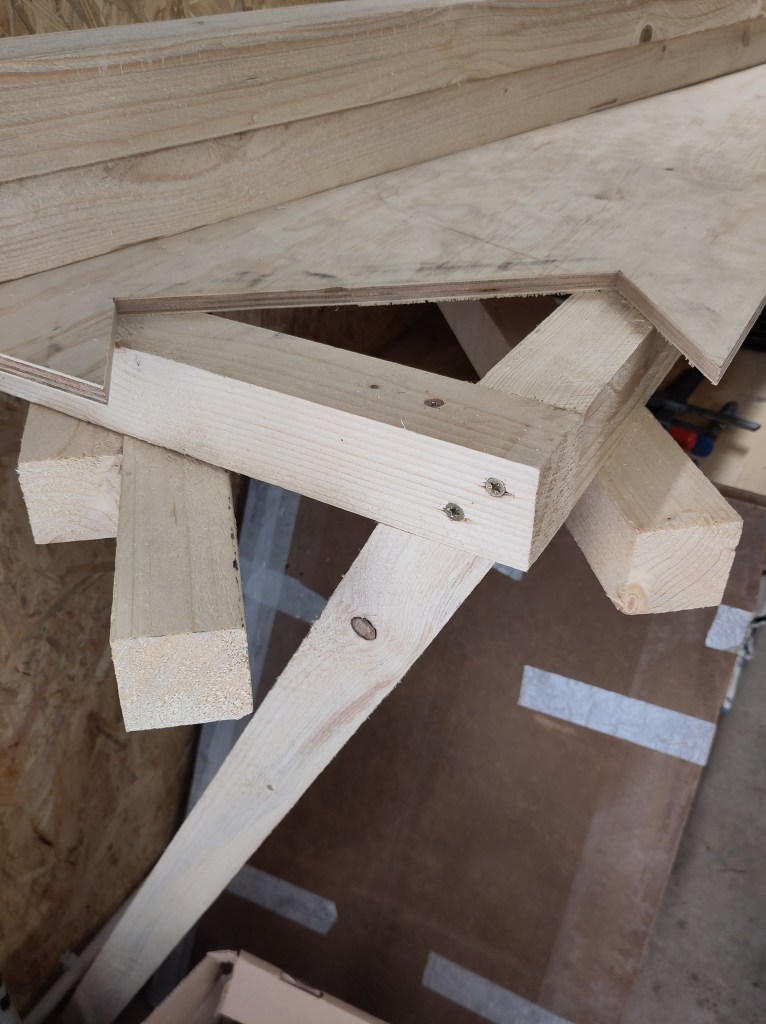
Had I cut the support beams to long, so they were too tight a fit? No! I had screwed the boards which formed the bridge into the supports at one end (where it overlaps).
Here you can see the hole where I had fixed the so-called removable part.
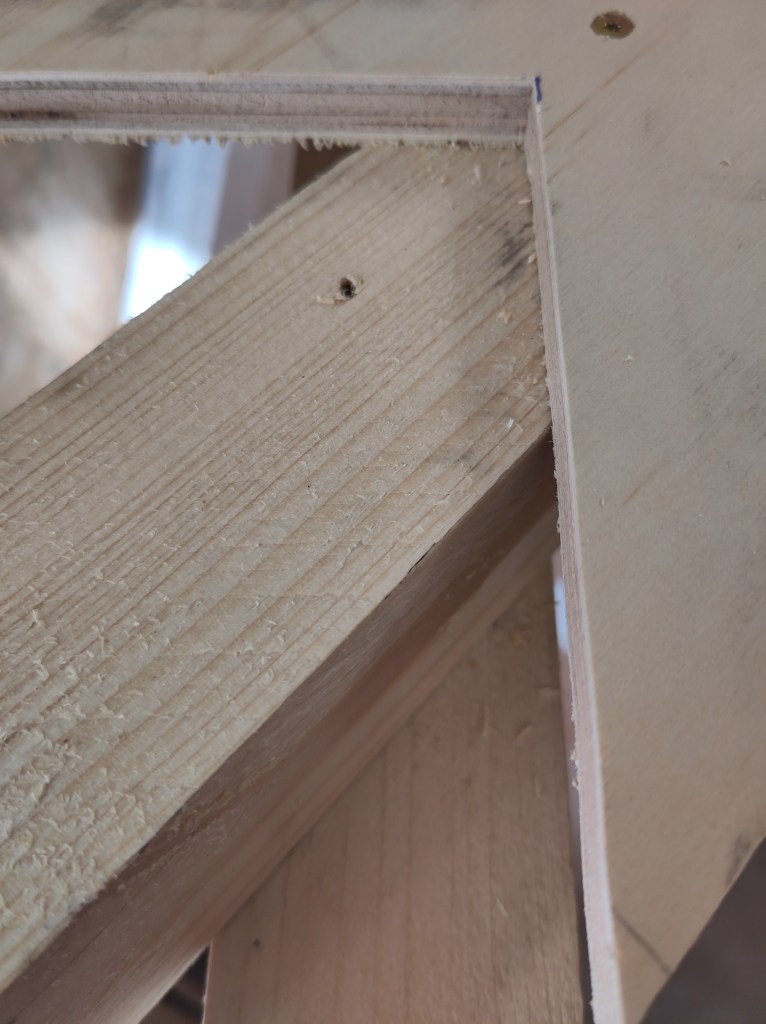
Feeling somewhat idiotic, I moved the screw, and hey presto, the bridge lifts off.
I have now screwed all the baseboards in place. I have also put down some matting to make the room feel a bit more homely (and less dusty underfoot).
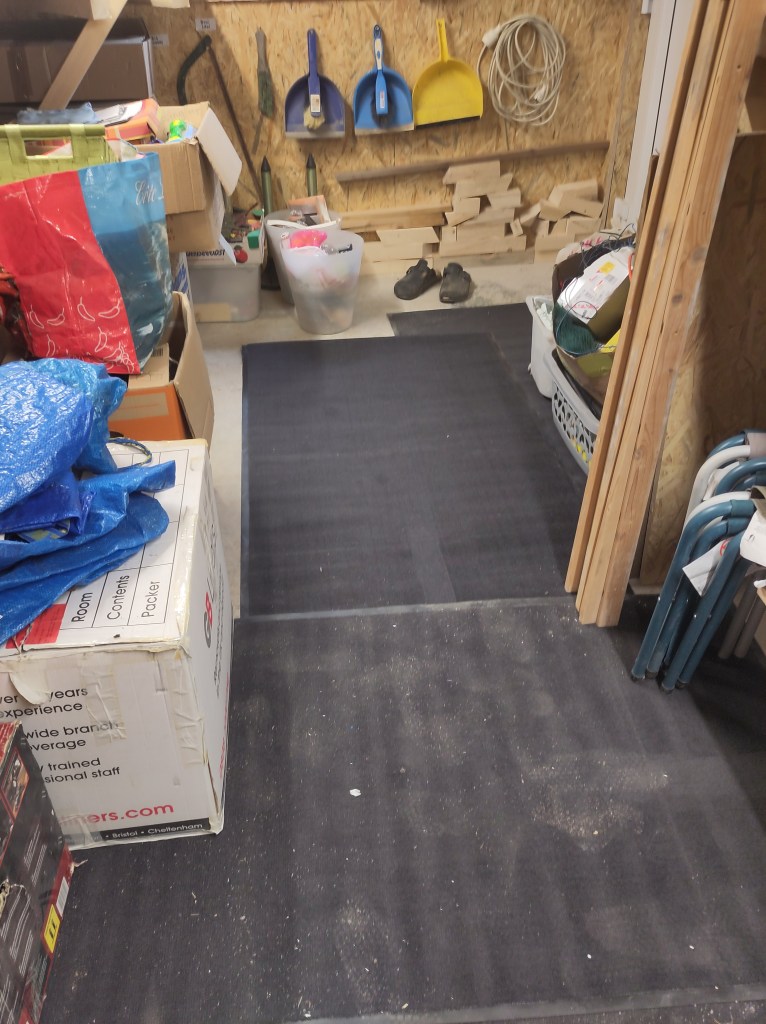
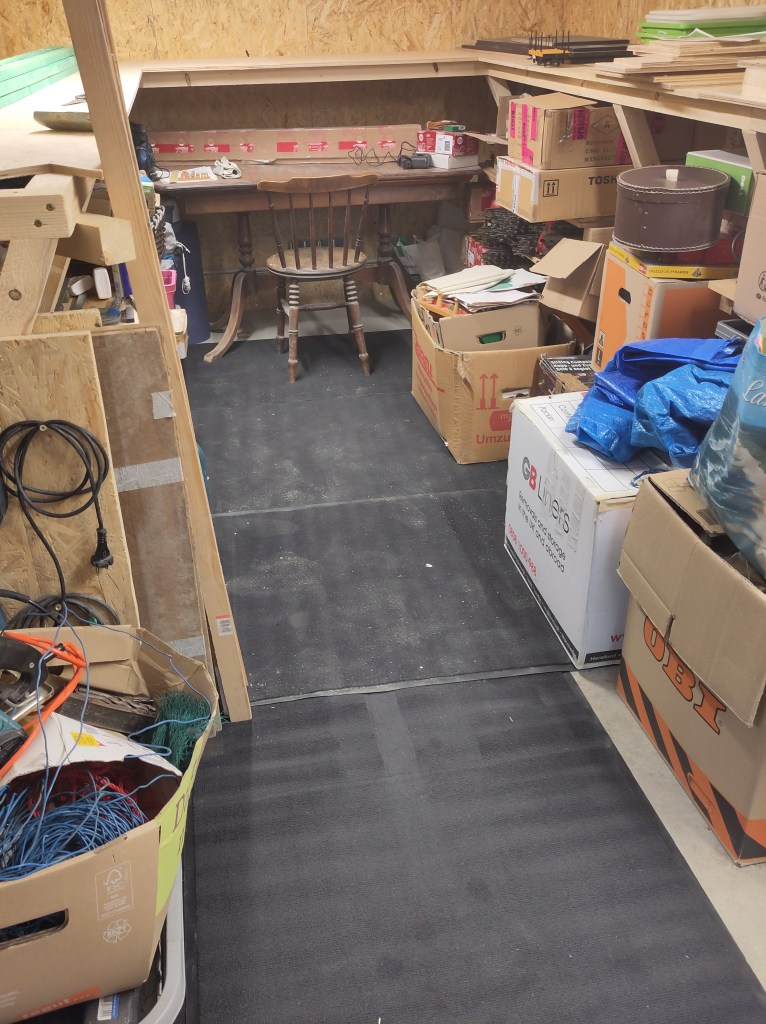
There are some rogue boxes which were cluttering up my bedroom. (The boxes contain mementos from our children’s childhood – watch out, guys, things coming your way!)
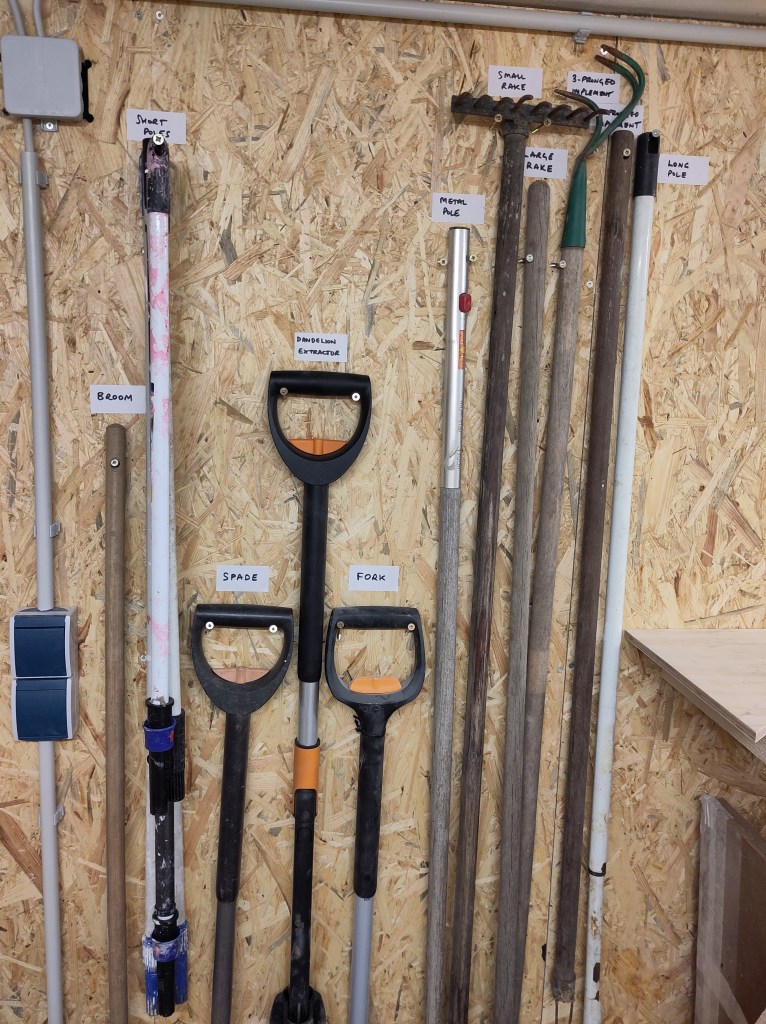
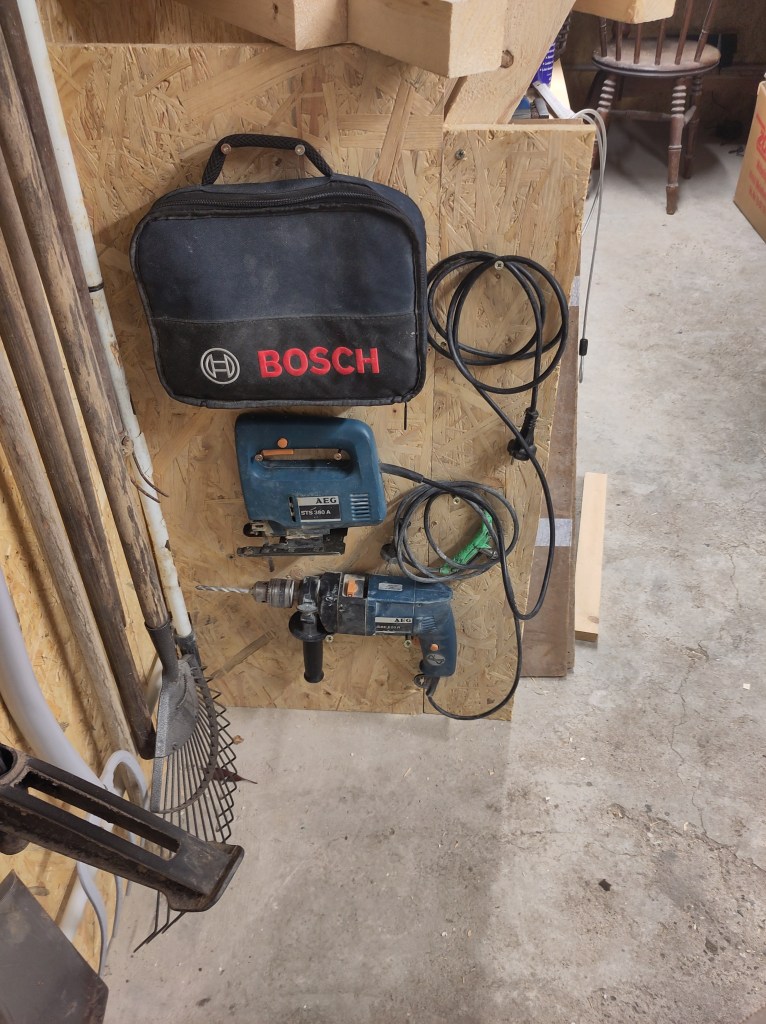
I have also created some vertical storage space for garden implements and tools:
The tent is empty, and no longer cluttering up the garden. Hooray!
I think I can consider the conversion of the undergarage to railway room complete. So now I can concentrate on pure railway modelling. Watch this space….

Leave a reply to Larry Litman Cancel reply