Since the Open Afternoon, I have been progressing on a couple of details of the layout which I hope will add to the realism when looking at and operating it.
The first is ballast.
I have never ballasted a model railway before, except for sometimes using precut foam plastic inlays with my OO-gauge layout. But for this project, I wanted to do things properly.
Much research on the internet led to the discovery that one candidate for G-scale ballast is chicken grit – actually small stones that are fed to chickens to improve the quality of their shells.
But not every pet shop stocks such an item; after asking around a bit, I found a store in Heppenheim, 5km down the road, who do sell chicken grit. Did I want a 25kg bag, or the smaller 5kg? Time for some experimenting before committing myself, I thought.
It looks like this:
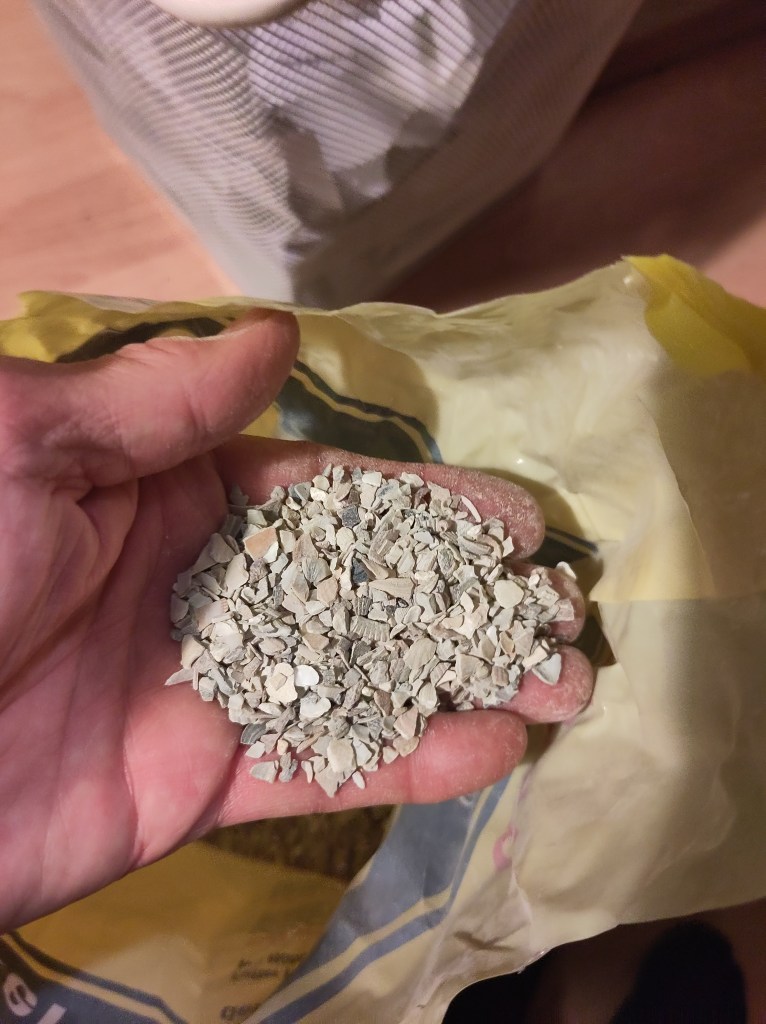
With pieces between 2mm and 8mm long (which to scale is 4.5cm to 18cm) it would seem to be an acceptable product.
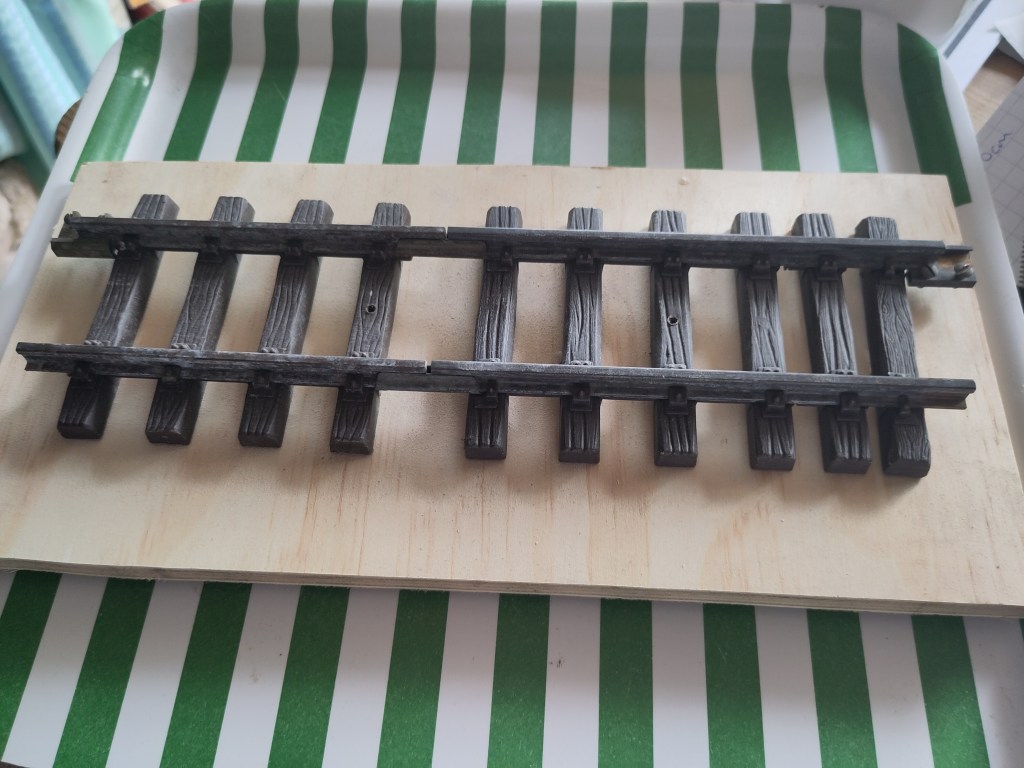
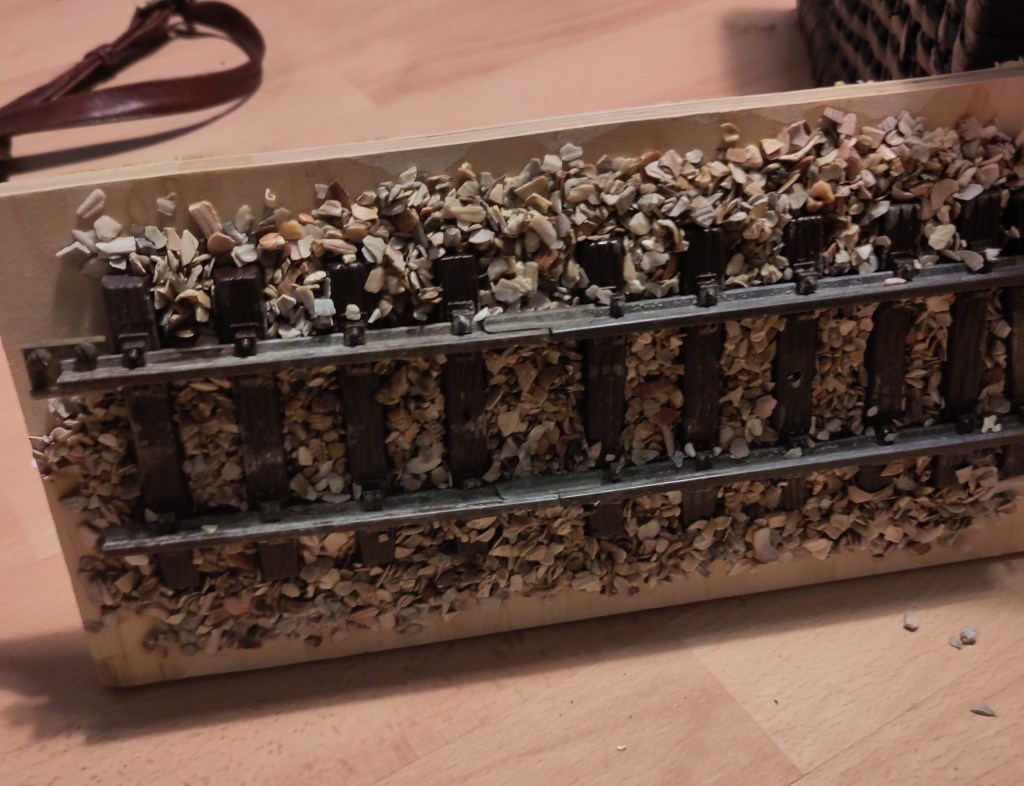
Before applying it to the layout itself, I checked some YouTube videos on the subject, and prepared a short piece of track as a prototype:
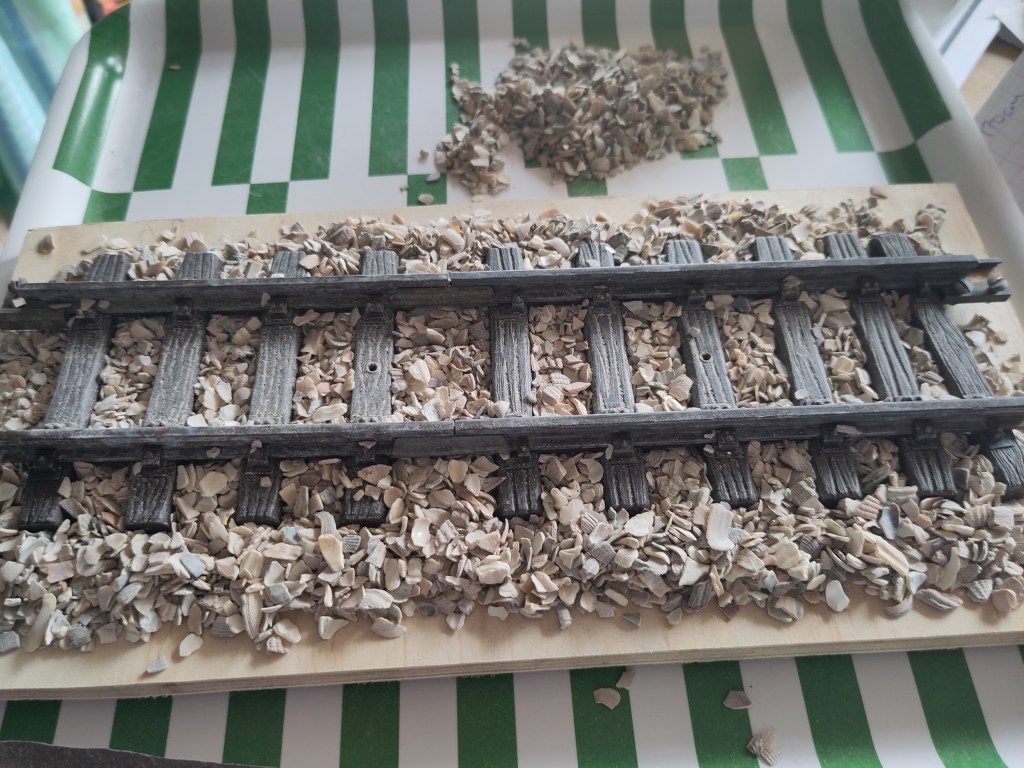
The video recommended scattering the grit over the track, and then brushing the rails and sleepers clear:
Then mix PVA glue 50/50 with water (to thin it), add a couple of drops of washing up liquid (to break down surface tension).

Mix together and then pour over all of the grit.
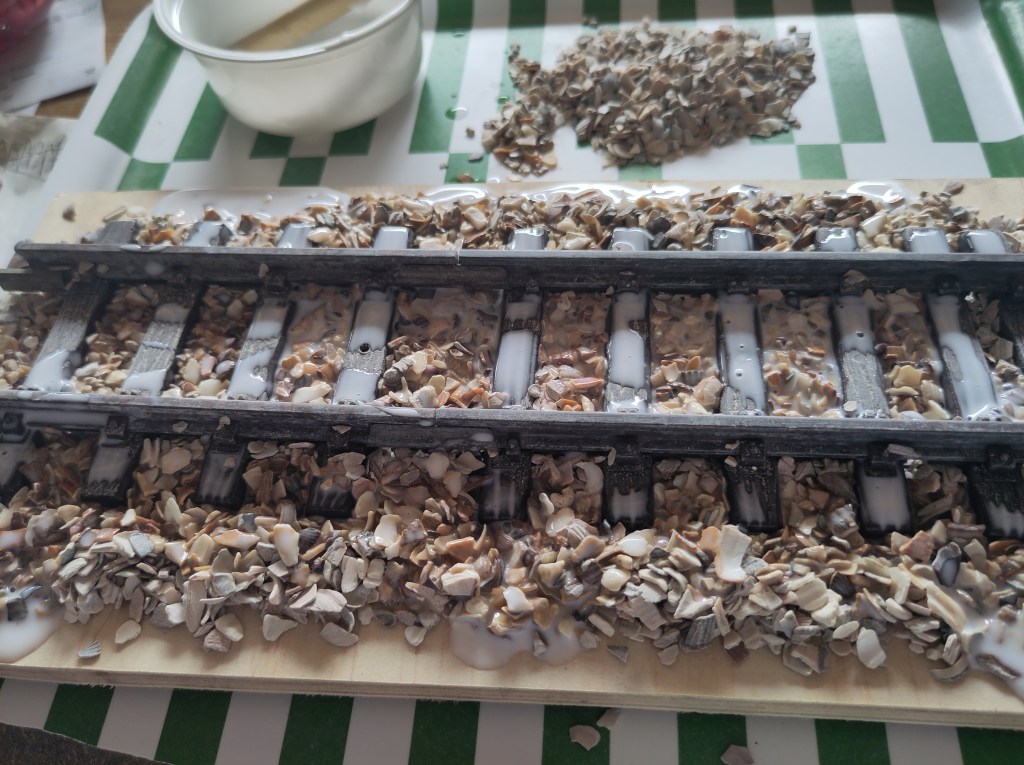
Don’t worry about where it goes, apparently, because it dries clear (you can see a small pool on the top lefthand corner of the picture).
Leave to dry for 24-48 hours, and you are done (no trace of leftover glue):

And proof that the ballast isn’t going anywhere:
This will work OK for the inside track. However PVA glue will not be good enough for outside, as I found after leaving this outside in the rain for a couple of days (all the ballast become loose). Other videos suggested laying the grit, sprinkling cement (in a similar manner to sprinkling icing sugar on a cake) and then spraying with a fine mist of water. So I will try that outside.
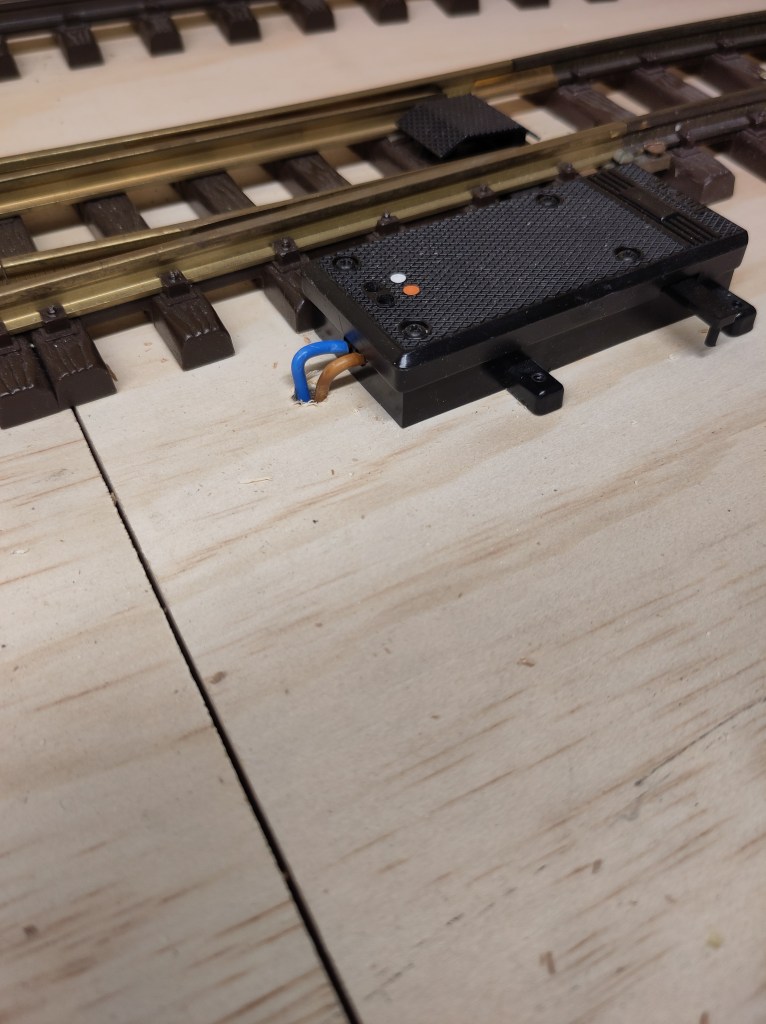
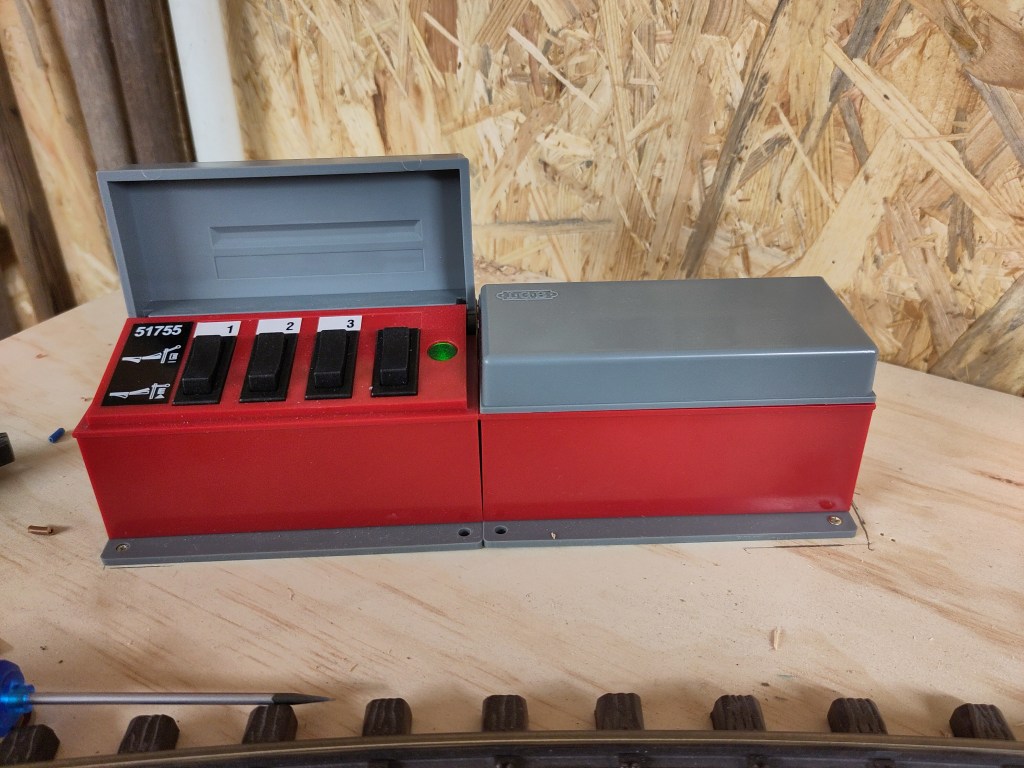
The other thing I have been doing is to start wiring up the point motors.
Each of my (second-hand) points were bought with point motors already fitted, and I tested each one in isolation when I received them.
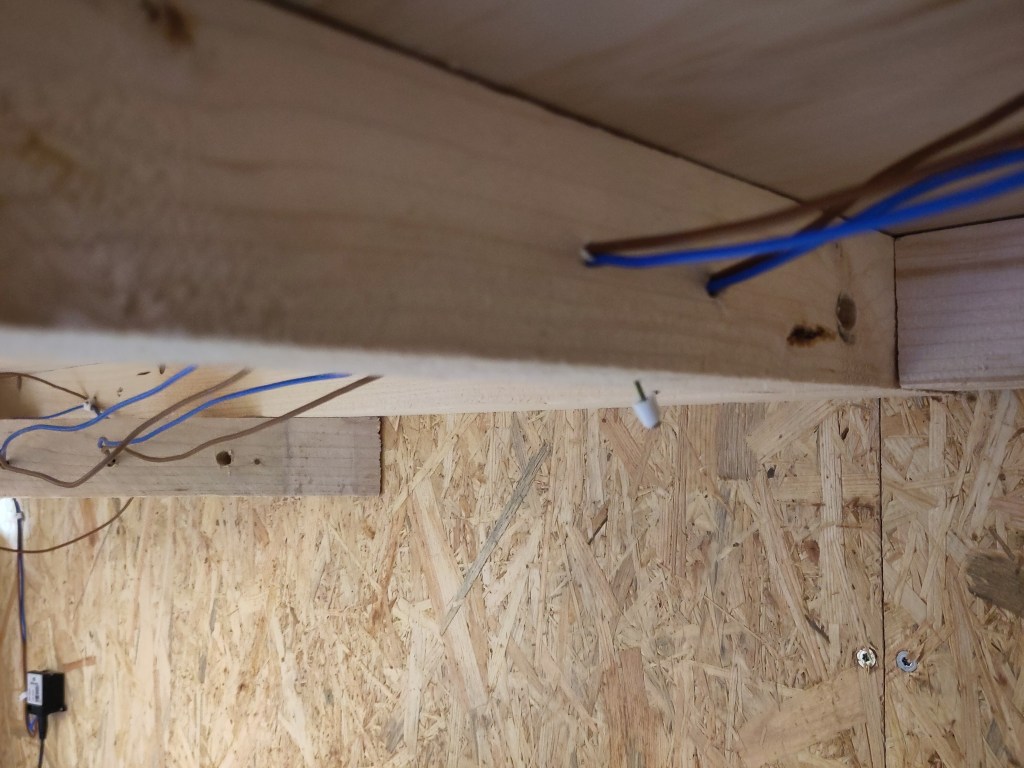
Now I have started wiring them in place:
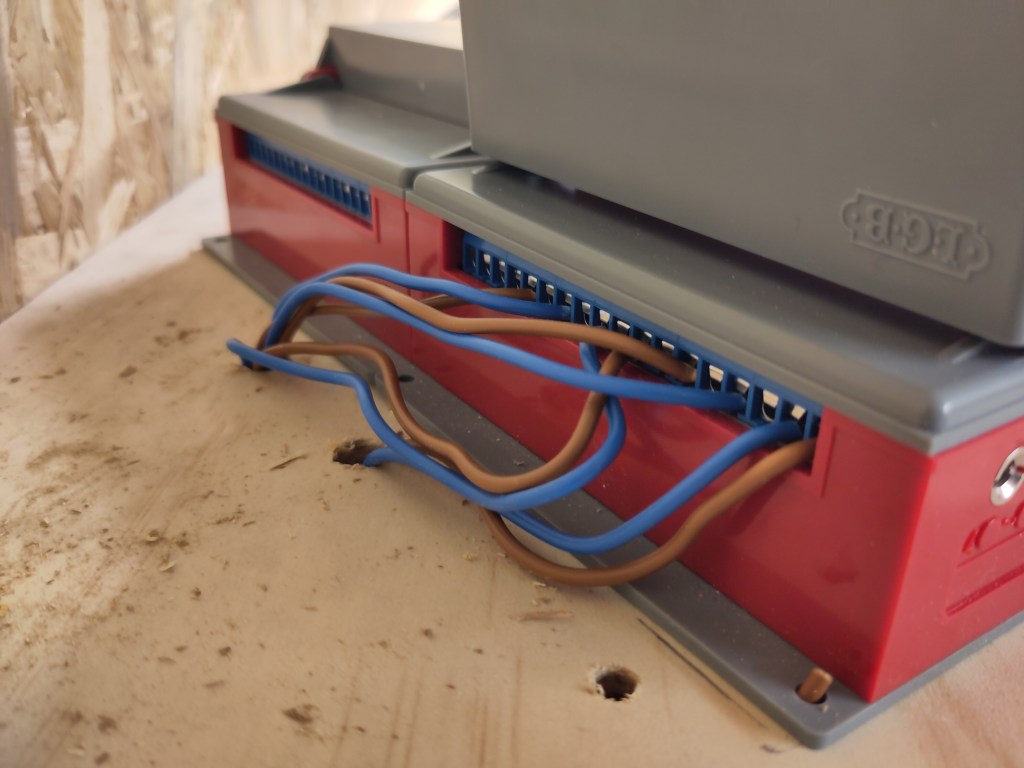
And here is a short video to prove that they are working:

Leave a comment